
Whether you are looking to improve the aesthetics of your home, increase the natural light coming into your home, or boost your home’s ventilation, installing a skylight can bring these benefits and more. Let’s take a look at everything you need to know about roof windows and skylight installation to bring this transformative feature into your home.
What Are Skylights and Roof Windows
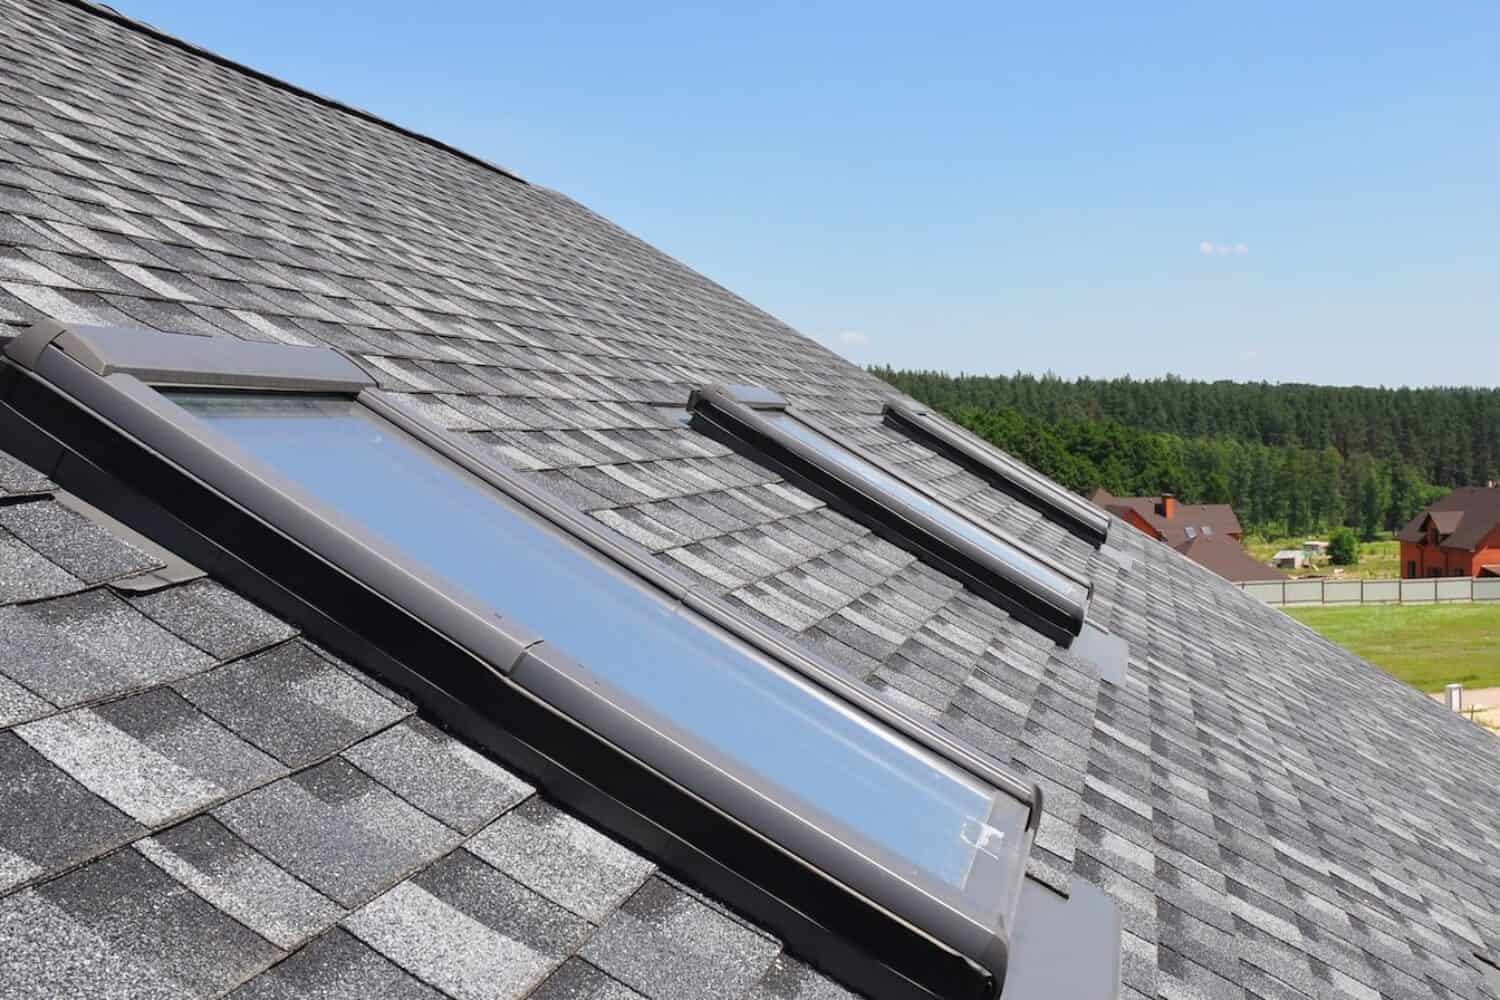
The difference between a roof window and skylight is mainly structural and where on the roof each is installed. A skylight is mostly a fixed structure, which does not open, and is installed on a flat surface to optimize the light that comes into a room. A roof window, on the other hand, is installed on a sloped surface, enhancing a room’s natural light but also opens outward for ventilation. A venting skylight is however a type of skylight that can open slightly for improved air circulation but does not provide the same level of ventilation as a roof window.
Beyond adding natural light and ventilation, roof window and skylight installation can also be energy-efficient. Skylights and roof windows can provide home energy savings by reducing the need for electrical lighting during the day, regulating indoor temperatures, which reduces heating or air conditioning usage, and with proper installation and insulation along with the usage of high-end materials, both can offer energy efficient options.
Types of Skylights and Roof Windows
Fixed Skylights
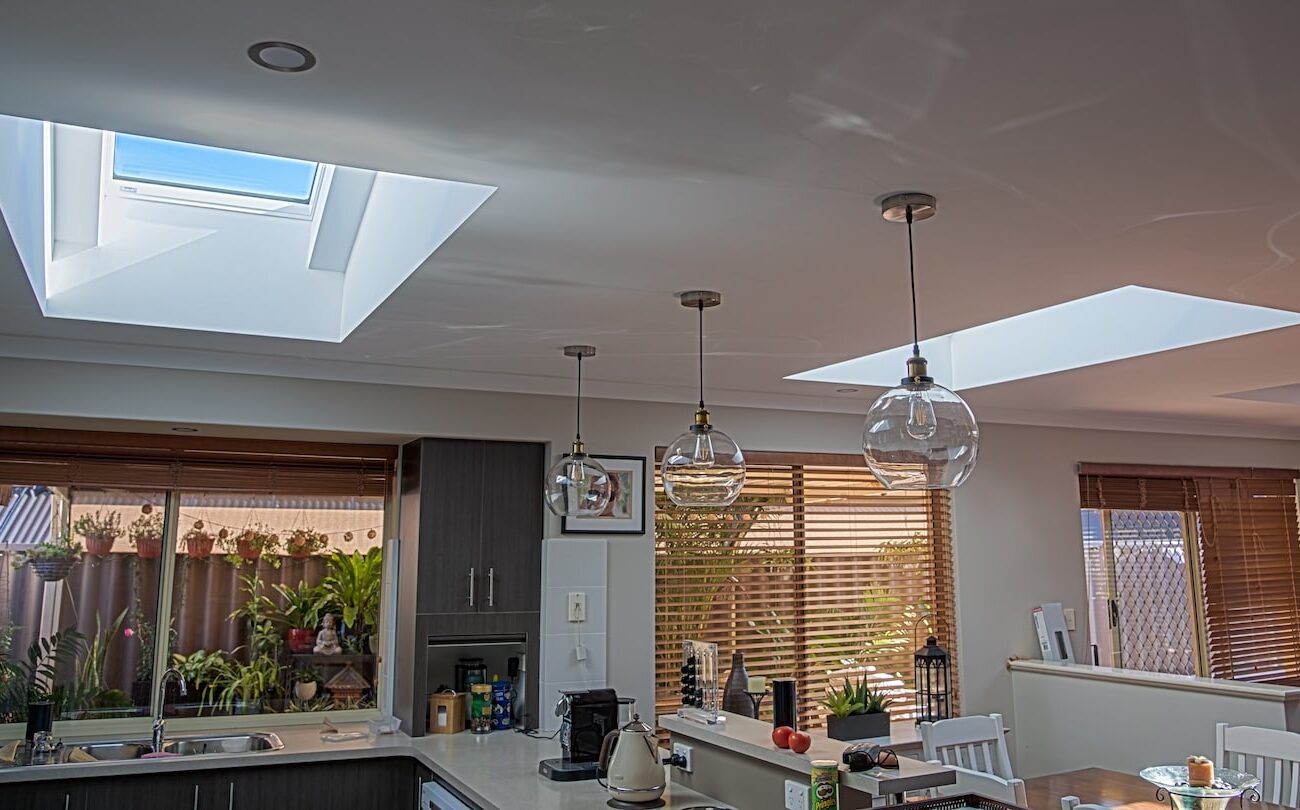
Fixed skylights are a type that does not open at all. It is most ideal for areas that need light without needing extra ventilation, such as living rooms, hallways, or bedrooms.
Vented Skylights
If you are looking to improve home ventilation along with adding extra light, however, then vented skylights are a better choice. Spaces requiring added airflow, such as kitchens or bathrooms, are ideal for installing skylights that open and ventilate the space when needed.
Tubular Skylights
They consist of small, flexible tubes that help channel light from the roof into an interior space and are best suited for spaces where you want to add light to but where a full skylight is not a feasible option.
Pyramid Skylights
This type of skylight provides a stronger architectural design to your space. It consists of multiple panes that are installed at angles to provide natural light and aesthetic appeal.
Domed Skylights
This style of skylight has a rounded shape that diffuses light throughout a space and has the added benefit of being capable of resisting extreme weather conditions.
Custom Features
There are some features for custom skylights that provide better energy-efficiency, ventilation, and convenience. Solar-powered skylights feature a solar panel to capture available sunlight during the day, which helps power the opening and closing of your vented skylight. A rain sensor can also be installed to close the skylight during inclement weather. This can also be solar-powered.
Fixed Skylights vs. Vented Skylights
Skylight installation costs can vary depending on the type of skylight you choose; its functionality and energy efficiency. Below is a table comparing the benefits and drawbacks of fixed skylights and vented skylights.
| Features | Functionality | Energy Efficiency | Cost Average Not Installed | |
| Fixed Skylight | Maximizes the natural light in a space | Do not open | Tighter seal, less heat loss | $200-$900 |
| Vented Skylight | Designed to open and close, either manually or mechanized | Open to allow for increased ventilation | More difficult to create a tighter seal, higher heat loss | $400-$2000 |
Roof Window Styles and Benefits
The benefits of roof windows beyond increased light and ventilation also include their easy accessibility and enhanced views. Roof windows come in several different styles, mainly differing with how they are designed to open. Some of the most common are pivoting, top-hung, and sliding.
Center-pivot
This style of roof window opens from the middle of the frame, pivoting outward to allow in air and also provide a view from a low position. They are well suited for spaces with low-ceilings, like attics, bonus rooms, or rooms on upper floors with highly sloped ceilings. They can be installed with roofs that slope between 15-90 degrees. They also work well in smaller rooms because it is possible to position furniture under the window without it impeding their function. Some center-pivot roof windows are designed to be well insulated with an airtight seal for higher energy efficiency.
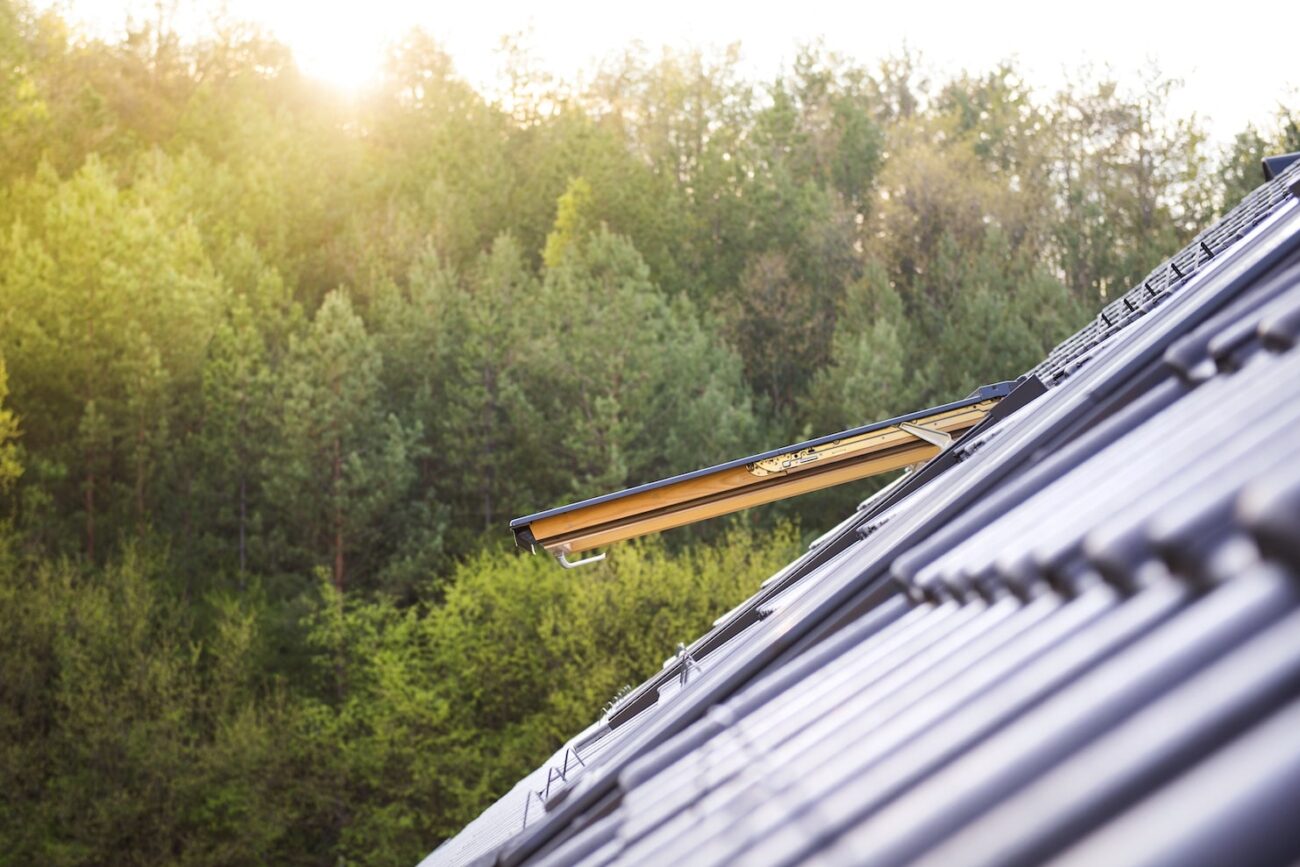
Top-hung
This style of roof window opens outward from the top. This mechanism is controlled by a handle positioned at the bottom of the window. This style provides unobstructed views and lets in more natural light and outside air than center-pivot windows. They also provide an easier escape, in case of an emergency and can also come with insulated glass and airtight seals to improve their energy efficiency. They are best used in loft conversions or attic renovations. They are best fitted on sloped roofs from 15- 55 degrees.
Sliding
This style of roof window opens much like its name suggests, by a sliding mechanism along tracks where one pane moves in front of the other. It can also slide as one piece across a rail track installed on the roof. This movement can be either controlled manually or be motorized. When closed this type of roof window can act more like a skylight than other styles, allowing for maximum light, but also maximum ventilation. They can also be customized to fit a space and be large enough to provide access to an outdoor space. They fit roof slopes between 15-90 degrees and can be fairly energy efficient.
Positioning for Maximum Light and Ventilation
Proper skylight placement and orientation is important to both maximize the natural light and ventilation in a room. For daylight optimization choosing the right orientation and placement is important, but there are other factors to consider as well.
Some tips for choosing the right orientation and placement include positioning to:
- Get the light quality desired
- Cut down on potential heat gain
- Avoid possible obstructions, such as trees or houses
- Maximize the room’s function
- Accommodate the direction your roof faces
- Take into consideration roof structure compatibility
North-facing skylights provide consistent but cool light. East-facing skylights provide maximum light and solar heat in the morning while west-facing skylights do the same in the afternoon. Southern-facing provides the strongest light throughout the day, but can also become too hot from solar heat.
Your roof’s pitch can also affect the light and solar heat provided by your skylight. A lower pitched roof provides more heat in the summer and less in the winter, while a steeper pitched roof is more consistent throughout the year. Roofing experts can help you find the right skylight for your type of roof.
Living room skylights can serve a different purpose than kitchen skylights or bathroom skylights. As such, a room’s purpose and layout should be considered when you go to install skylights in your home for optimum results.
Weatherproofing and Leak Prevention
To properly weatherproof skylights, it is important to install proper skylight flashing along with utilizing sealing materials to help prevent leaks. It is important to ensure the flashing system overlaps the roof material, the system is installed to direct water away from the frame, and high-quality sealants are utilized along seams and edges to create a leak-proof seal. Professional installation can ensure the best waterproofing and leak prevention for your skylight or roof window.
Maintaining and caring for your skylight also means cleaning the glass and clearing roof debris and periodically inspecting for damage and checking the wear and tear of the seals and flashing.
How to Install a Skylight
Below is a step-by-step guide on how skylights are installed, which can give you a good idea of what goes into this type of home renovation.
Step 1: Choose the right skylight and location for optimal natural light and ventilation.
Step 2: Measure and mark the roof opening based on the skylight’s dimensions.
Step 3: Cut the roof opening carefully, removing roofing material and insulation.
Step 4: Frame the opening with wood to reinforce the roof structure.
Step 5: Install the skylight, ensuring it is level and securely attached.
Step 6: Add flashing and sealant to create a watertight and waterproof seal.
Step 7: Finish the interior with drywall or trim for a seamless, polished appearance.
Beyond these skylight and roof window installation tips, however, is the role played by professional installation to ensure longevity and weather resistance. No skylight or roof window is going to provide the benefits they can to your home if they are not properly installed. Professional installation, along with periodic maintenance to prevent water damage and drafts will ensure that your skylight or roof window offers the home transformation you are looking for.
Final Thoughts on Skylight Installation
Skylight installation and roof windows can increase the natural light that enters a room, but also improve your home’s ventilation and energy efficiency. To reap these transformative benefits, however, proper installation is key.
Consult with Summit Construction Group to make sure your new skylight is properly installed. As window and roofing experts, Summit can make sure you can maximize the benefits of this transformative feature and avoid the common pitfalls of skylight installation.