
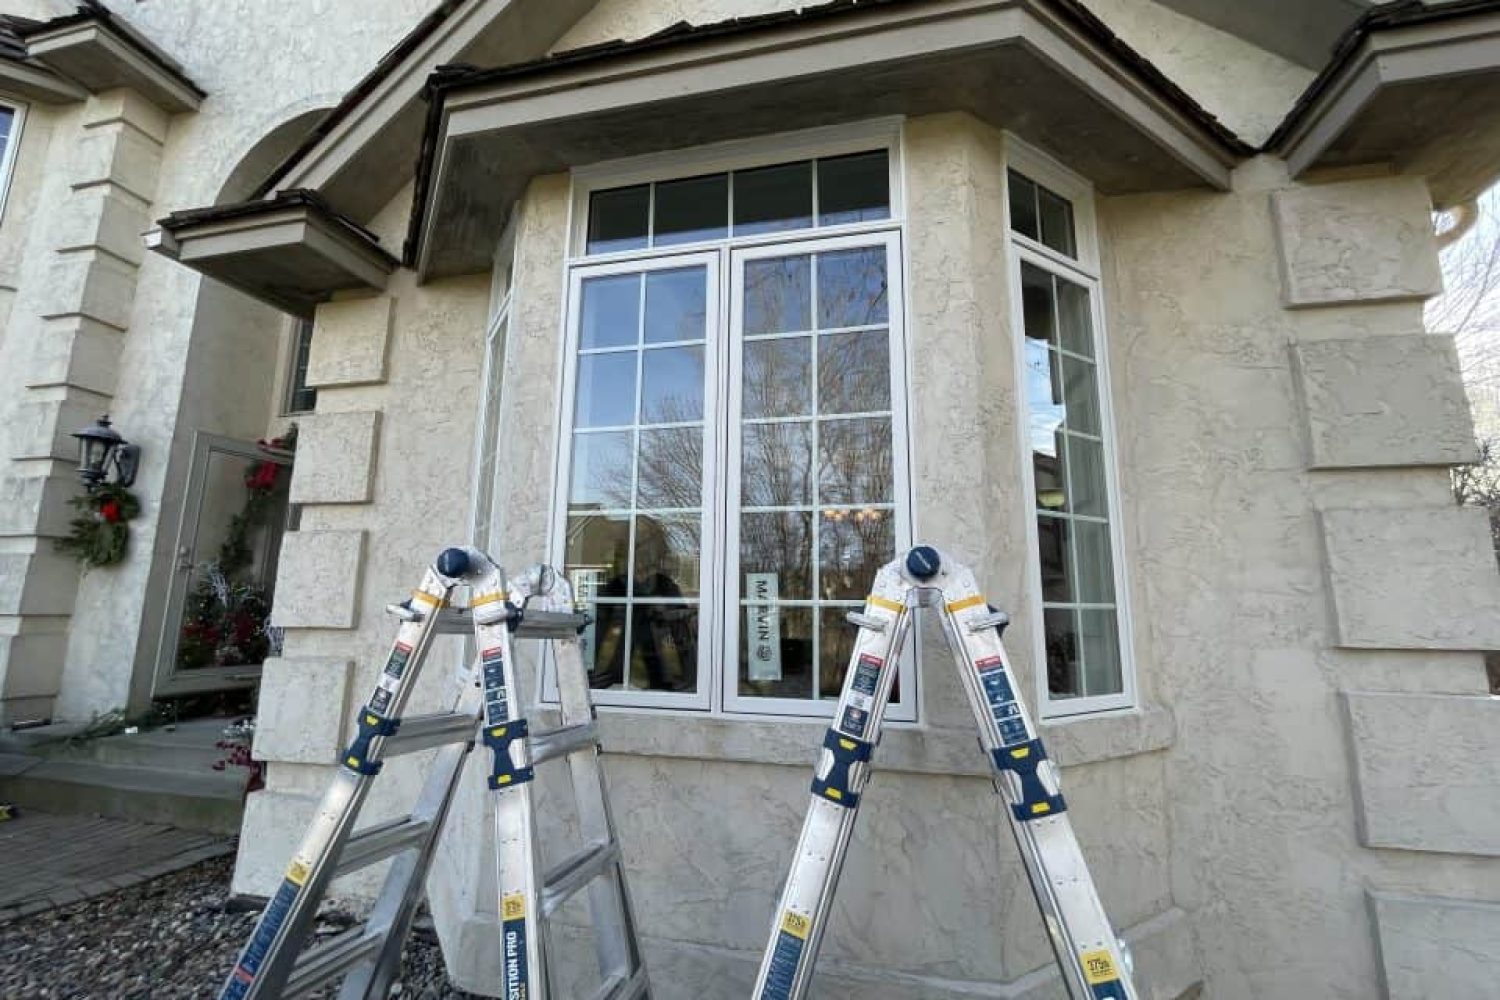
Making your home more energy efficient is a pro-active way for you to lower your home energy costs, improve your home’s comfort, and in Minnesota, some energy efficient improvements can even come with rebates. One important way to increase your home’s energy efficiency is with proper window sealing. Let’s take a look at how to properly seal your windows to reap the benefits of a more energy efficient home.
How Improper Sealing Causes Energy Loss
It may seem simple, but windows are essentially holes in your walls that are sealed up with framed glass. They are designed to bring in natural light and provide your home with a natural air exchange. According to the US Department of Energy, this air exchange causes windows to account for roughly 25 to 30 percent of the heating and cooling energy used in an average home. If windows are not properly sealed, air from the inside that is not supposed to escape does and air from the outside is able to seep in. This results in your heating and cooling systems working harder to keep your indoor air temperature comfortable, which in turn, raises your home’s energy costs.
Small gaps around frames, sashes, and trim can account for this type of heat loss and can cause your home’s comfort to decline. Your heating and cooling system is forced to run on shorter cycles, which is costlier. It brings the temperature to a comfortable level, turns off, but then the temperature drops rapidly and the system has to start up again to bring the temperature back to that comfortable level. This results in uneven room temperatures and higher run times for your HVAC system. All of which costs you money.
Installing energey-efficient windows and air sealing them can close these small gaps and reduce uncontrolled air exchange, which then puts less strain on your HVAC system. Hence, it makes your home more energy efficient. It also reduces moisture intrusion, mold risk, frame rot, and damage to your interior finishes.
During cold Minnesota winters, this can be significant, as cold air infiltration can raise your heating costs considerably. Draft patterns make this cold infiltration typically show up on north-facing walls, older casements, and basement egress windows. If you want to address the most troublesome windows in your home, these would be the areas to concentrate on.
Identifying Drafts and Cold Spots around Windows
There are several methods on how to find window drafts and identify a failed window seal. You can use these methods to identify the windows in your home causing you the most heat loss.
Hand Test
Place your hands around the window and feel for a draft or significant change in temperature. This is best done when it is cold outside as the temperature change will be more easily felt.
Candle or Incense Smoke Test
Light a candle or incense stick and hold it near your windows. If you see the flame or smoke move or flicker in a specific direction, it can indicate an air leak. Make sure to turn off any exhaust fans near your windows for an accurate reading.
Smoke Pencil Draft Test
This test requires the use of a battery-powered device, a smoke pencil, that emits non-toxic smoke streams that will flow in the direction of air currents. The device is often used by professional contractors to determine air leaks and insulation deficiency around windows.
Tissue Test
Place a lightweight piece of paper or a tissue near your window frame and seams and witness whether it moves or not. Movement can indicate an air leak.
Nighttime Flashlight Test
This method requires two people, one standing inside near the window and the other outside shining a bright flashlight around the entire window frame. If the person inside the home sees rays of light appear through the window’s seals or frame, it is a sign of improper sealing and insulation. Wait for it to be dark outside to perform this test.
Thermal Imaging for Drafts
This is a more sophisticated method that uses a thermal or infrared camera or an IR add-on to your smartphone that detects temperature differences around a window. This method is often used by professional contractors to detect air leaks.
Other signs of window drafts and cold spots include:
- Rattling sashes
- Whistling
- Spiderweb cracks in old caulk
- Visible light
- Dust trails
- Peeling paint
- Condensation on windows and at frame edges.
Condensation can also be a sign of double-pane seal failure.
Window Sealing Techniques to Improve Insulation
Once you have detected improper air seals around your windows, there are several techniques you can apply to improve your insulation and air leakages.
Caulking Basics
Window caulking is a way to seal around your window frames to prevent air leakage. It is applied using a caulking gun and requires smoothing and curing to create an air tight seal. It comes in different varieties with different material make up, including silicone, latex, and polyurethane.
When comparing silicone vs latex caulk, silicone provides both durability and flexibility along with superior waterproofing, making it ideal for bathrooms and kitchens. Acrylic latex is both easy to apply, less expensive, and paintable, making it good to use around interior trim. Polyurethane window caulk is a strong, weather-resistant material that is also paintable. It is a good choice for exterior projects.
Caulking also comes in both interior and exterior varieties. Interior caulk is generally used around interior window frames to prevent air leakage and is paintable to blend into interior decor. Exterior caulk is used for outdoor projects where flexibility, UV resistance, and waterproofing properties are necessary to ensure better protection.
Caulk Application
To apply caulking, you first need to prepare the surface by removing the old caulking and cleaning around the windows. Then, cut the caulking tube at a 45-degree angle and insert it into the caulking gun. Then, apply a continuous seam or bead of caulk, making sure it gets into the joint. After application, smooth the bead with a caulking tool or your finger. Wait at least 24 hours for the caulk to cure to ensure a proper seal.
Gap Sizing
To ensure that you properly fill in the gap, accommodate thermal expansion and contraction, and prevent three-sided adhesion and future cracking, make sure to create an appropriately sized and flexible joint with proper gap sizing. You can also use a foam backer rod to fill gaps that are ¼ of an inch or wider.
Weatherstripping Windows for Operable Sashes
Applying weatherstripping to your windows can help seal air leaks and cut down on both drafts and moisture penetration. Weatherstripping creates a barrier around your windows to protect from outside elements.
Weatherstripping comes in many different styles and materials, including:
- V-strip
- Foam tape
- Felt
- Magnetic
- Reinforced silicone
- Metal
It is important to match the type and style of windows in your home with the right weatherstripping to keep your windows operable and maximize the energy efficiency benefits of weatherstripping.
For casement window seal replacement tubular or bulb-style rubber or silicone weatherstripping will usually create the best airtight seal. Double-hung window weatherstripping the best seal is usually created with an interlocking metal design. Metal is a durable option that will last a long time.
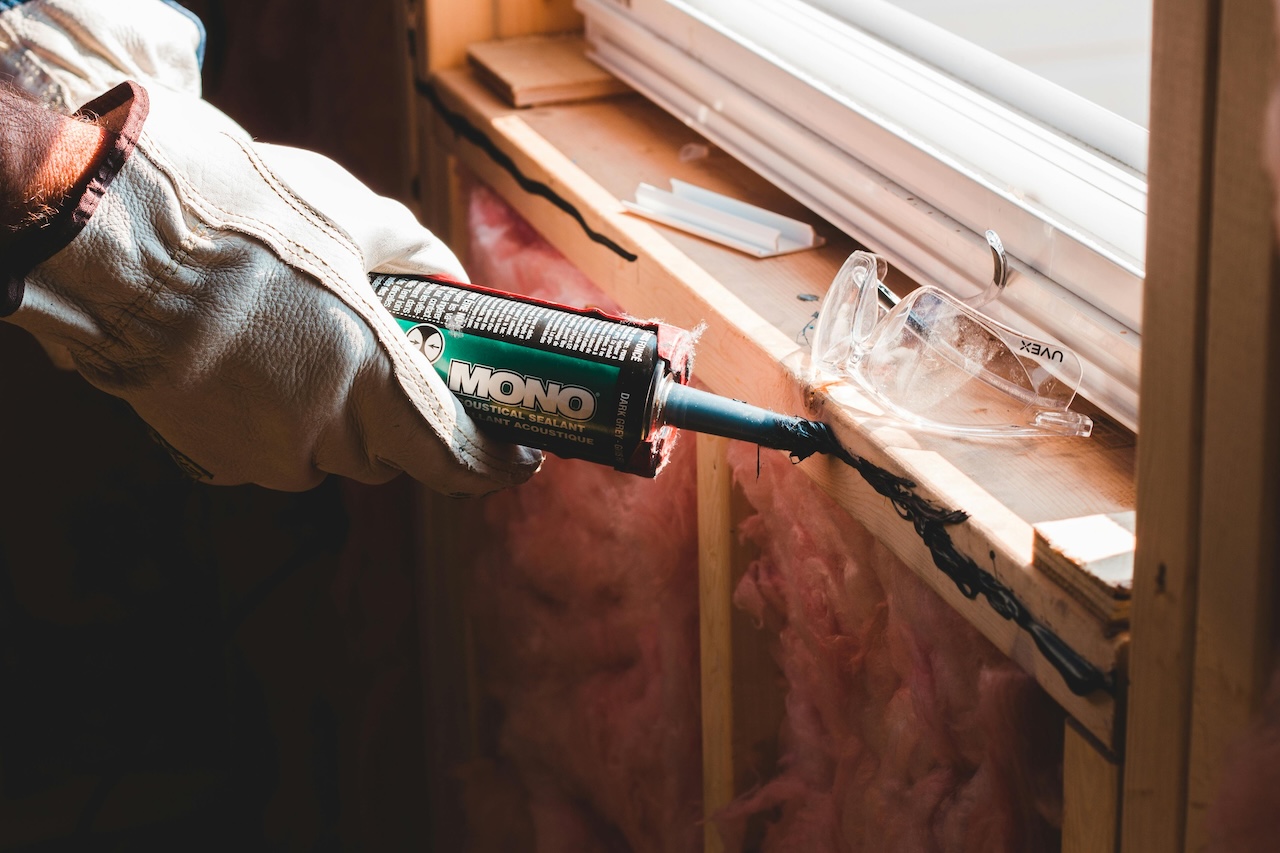
Low-expansion Spray Foam Sealant
Foam sealant for windows can seal small cracks or gaps around windows and is a way to improve your window’s insulation behind your window trim. It can be used in both interior and exterior applications. This is a medium to difficult DIY energy efficiency project, so calling a professional, qualified contractor is an option as well.
If you decide to take on this project, you first need to remove the trim around your window and remove the existing insulation. Then, replace the insulation with spray foam, making sure it fills the gap but does not over-expand as to bow the window frame. Once the foam hardens, trim off any excess with a utility knife. Finally, replace the window trim.
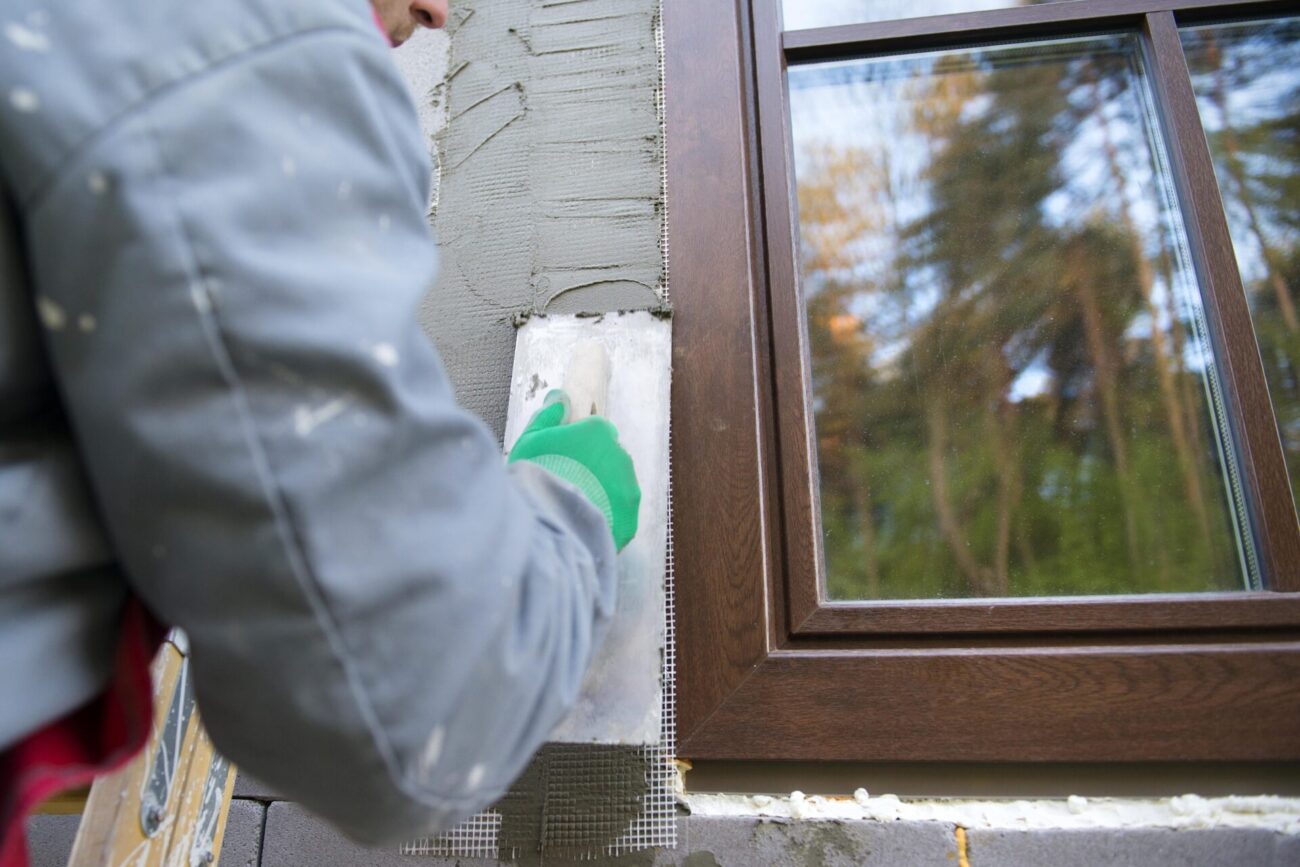
Window Flashing Tape and Sill Pan Flashing
Another important part of a window for moisture-intrusion prevention is the flashing, which is installed around the window’s parameter and acts as a barrier to outside elements, especially water.
Flashing tape creates a watertight seal around windows to prevent water and air intrusion. Sill pan flashing is a watertight membrane that is applied at the base of your window to prevent water from getting inside your home or trapped in walls, which can cause mold and rot. Installing flashing tape and sill pans during replacement or major rehab can prevent bulk water intrusion.
Window insulation film and cellular shades can additionally improve indoor winter comfort. With tight-fit cellular shades, insulation around windows can improve and help reduce heat loss.
Read More: 8 Signs You Need to Replace Your Windows
Professional vs DIY Window Sealing Solutions
Not all window sealing issues require you to hire a professional, especially if you enjoy and are well versed in DIY home projects. It is fine to apply a DIY fix to:
Hairline cracks in interior caulk
Simple weather strip replacement
Seasonal window insulation film
Not all window sealing projects though are appropriate for a DIY fix. There are times when calling a professional, like the window experts at Summit Construction Group, will save you time and money. Call a professional when you are experiencing:
- Persistent drafts despite your DIY efforts
- Visible water staining or mold
- Soft or rotted wood
- Failed IGU seals
- Large or shifting gaps
Also, if you have historical windows and want to preserve their integrity and beauty while also improving your home’s energy efficiency, a professional can help you make the right choices and apply the right solutions. This can also include lead-safe window work, which can be an issue with historical windows.
Having a professional remedy for your drafty windows can also be done concurrently if you are also planning siding, gutter, or roof work. This can include air sealing along with window rot and trim repair.
As a part of this professional service, you can also have a professional assessment of your home’s energy efficiency, including the windows.
A professional assessment includes:
- Blower-door testing – a diagnostic test that measures the air leakage of your home’s building envelope.
- Thermal imaging – completed with professional equipment and monitoring
- A full rundown on the scope of work required for comprehensive air sealing
Along with window sealing, this rundown can include both attic and basement sealing to avoid stack-effect home issues.
A professional can also help you sequence your air sealing with your siding or roofing projects to help prevent having to rework projects, but also to help improve your home’s overall building envelope performance.
Decision Guide: Replacement, Inserts, or Repair
Not all energy efficiency issues with your windows can be solved, however, with proper air sealing. There are times when other fixes are needed, such as window inserts or even full window replacement.
If air sealing cannot solve your comfort and energy efficiency problems, it may be time for a full window replacement. A professional consultation can assist you in making this determination. If you do opt for full replacement windows, Summit Construction Group has energy efficient window lines to choose from and ones that will fit the style of your home too. This includes Energy Star windows and windows with low-e coatings.
When it comes to window upgrades, you want to look at several factors to support your decision, including:
- Solar Heat Gain Coefficient (SHGC) – A value between 0 and 1 that measures how much heat (solar radiation) passes through a window. The lower the number the more solar heat the window blocks.
- U-Factor – A measurement of how much heat escapes your home in colder months and how much heat enters your home in hotter months. The rating uses British Thermal Units (BTUs), and the lower the rating, the better.
- Air Leakage Ratings – A measurement of how much air passes through a window’s joints and seals over a standard duration. The lower the rating, the more airtight the window.
Replacing your windows with triple-pane windows or other energy efficient window designs with good SHGC, U-factor and air leakage ratings can help improve your home’s energy efficiency and comfort.
Window Inserts vs Replacement
If you are not ready to invest in a full window replacement, interior window inserts or storm windows can provide you with added energy efficiency at a lower cost. This can be a good option if you are looking for a budget-first upgrade or for historic homes, where maintaining the aesthetic integrity of your windows is foremost, but an efficiency upgrade is needed too.
Minnesota Climate Specifics and Incentives
If there is a place where it is important to winterize windows, Minnesota lands on the list. With the cold, harsh weather experienced in Minnesota, maintaining indoor comfort in winter takes more effort. The freeze-thaw cycles and wind exposure experienced in the state can quickly spotlight poor sealing. Minnesota energy rebates, however, can also help make these efforts less of a burden on your wallet.
Minnesota Energy Resources has air sealing and insulation rebates. Their availability can fluctuate annually, so you need to check up on them. There is also the Minnesota state HOMES program and Minnesota Power ACH50 incentives that may offer rebates for your home energy efficiency efforts.
It is best to book your sealing upgrades before any cold snaps set in so you can maximize seasonal savings.
Read More: Vinyl Vs. Wood Windows: Which Material Is Best for Your Home?
Safety, Materials, and Longevity
While caulking or foaming your windows to prevent air leaks, you also want to take safety precautions. It is important to note that you need to follow lead-safe practices in homes that pre-date 1978. There are also volatile organic compound (VOC) considerations, which require proper ventilation. You can also use low-VOC sealants.
The lifespan of common sealants and weatherstripping can vary depending on the materials used, but regular inspections and proper cleaning is a factor in longevity too as well as exposure to the elements. Silicone-based sealants will last between 10 to 20 years or more while polyurethane will usually last about 5 to 10 years and acrylic latex about 3 to 7 years. Rubber and foam weatherstripping has a typical lifespan of about 5 to 10 years.
You also want to apply cleaning methods that will not degrade the seals and make sure you retouch the sealants on a regular timeline.

Final Thoughts on Window Sealing
One important way to improve your HVAC efficiency and lower your energy costs is to invest in upgrading your window seals. This investment can make your home feel more comfortable and your pocketbook feel more comfortable too.
Proper Window Sealing FAQs
How do I know if I need sealing vs full window replacement?
If window sealing does not help with improving the strain on your HVAC system, it may be time to replace your windows.
What is the best caulk for exterior window frames in a cold climate?
Polyurethane caulk is good for exterior windows in a cold climate.
Which weatherstripping type works best for double-hung vs casement windows?
Rubber or silicone usually work best for casement windows, while metal is usually best for double-hung windows.
Is expanding foam safe to use around windows without warping the frame?
If properly installed foam should not warp your frames.
How long should window sealants last before redoing?
Longevity depends on the type of material, maintenance, and upkeep.
Can sealing help with condensation or is that a different issue?
Yes, sealing can help with condensation as well as air leakage.
Will sealing reduce outside noise or do I need different glazing?
Window sealing can reduce outside noise.
When is the best time of year to schedule window sealing?
Make sure to schedule your window sealing before the cold weather hits.
What maintenance should I do after sealing to keep performance up?
Properly cleaning your sealants, inspecting for wear and damage, and performing periodic touchups can increase longevity and ensure performance.