
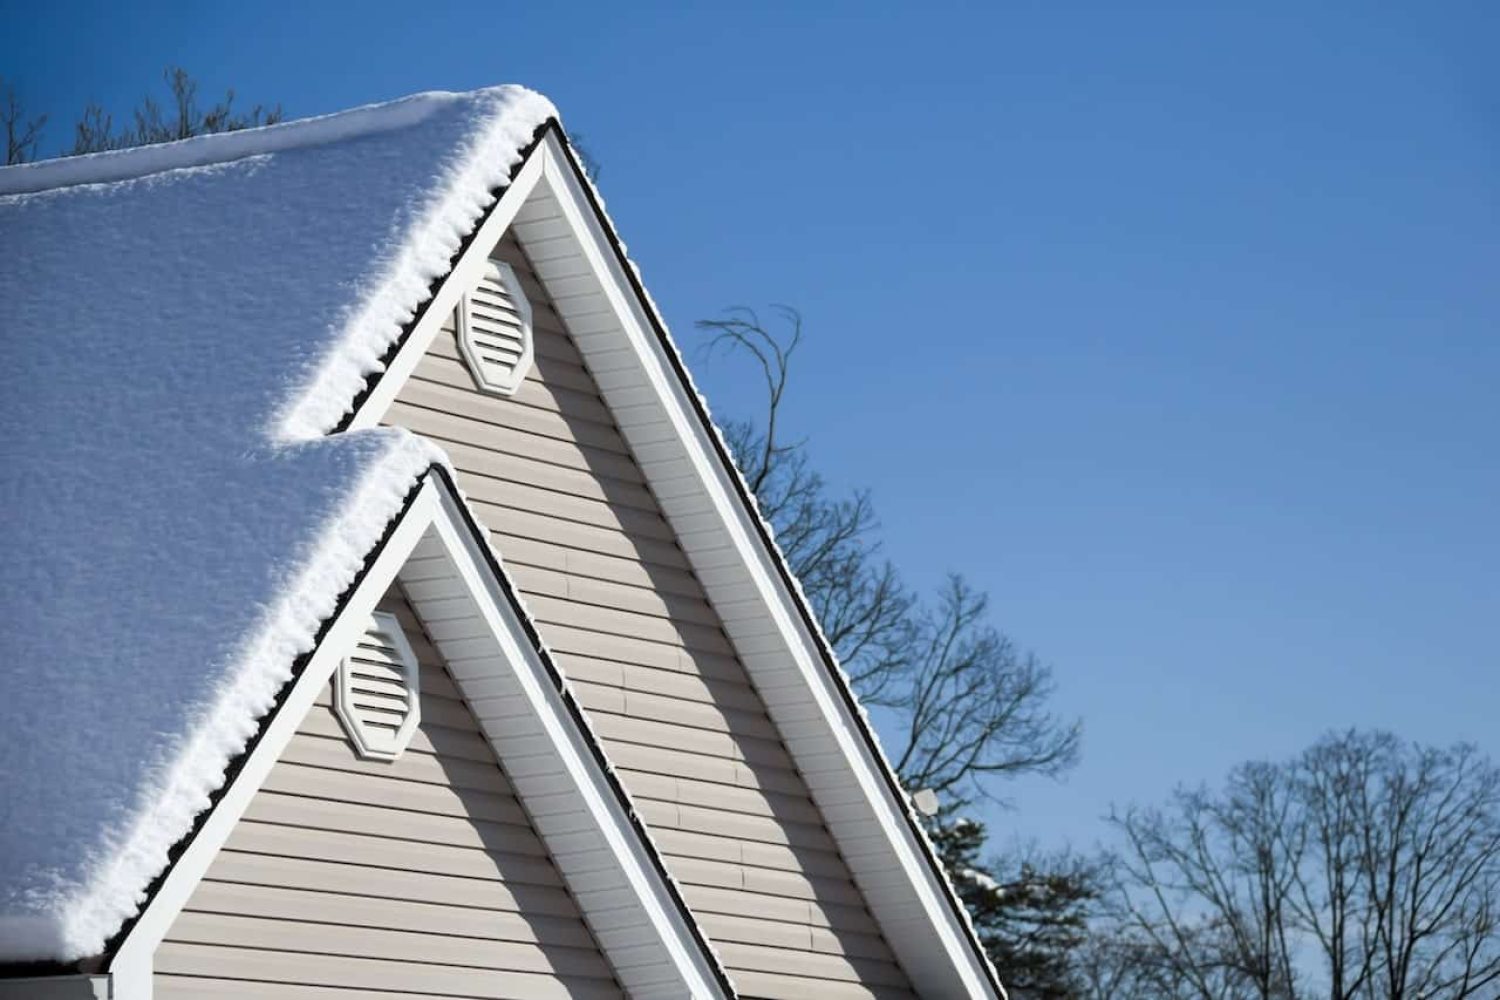
Your roof is your home’s first line of defense. From freeze-thaw cycles to wind-driven rain, high winds, hail, and heavy snow loads, your roof faces an almost constant barrage, which is why there is no single “best” weatherproof shingle. Weatherproof roofing is about building a complete roofing system, including materials, details, ventilation, and drainage that all work together to prevent leaks, extend roof life, and protect your home all year round.
In this article, we’ll show you what weatherproof roofing really is, why every detail matters, and how Summit Construction Group approaches roofing system design to stand up to Minnesota’s harsh climate.
What “Weatherproof Roofing” Actually Means
One of the most commonly asked questions by homeowners is, “What’s the most weatherproof shingle?” The problem is that shingles are just the top layer of the roof.
Real weatherproof roofing is a system of interconnected parts, including:
- Roof decking
- Underlayment and ice barriers
- Flashing at walls and penetrations
- Shingles and accessories
- Ventilation and drainage
If any one layer fails, water will leak in. A missing kick-out flashing, misaligned ice and water shield, or blocked attic ventilation can compromise even the best shingle system.
Why a Single Weak Link Causes Leaks
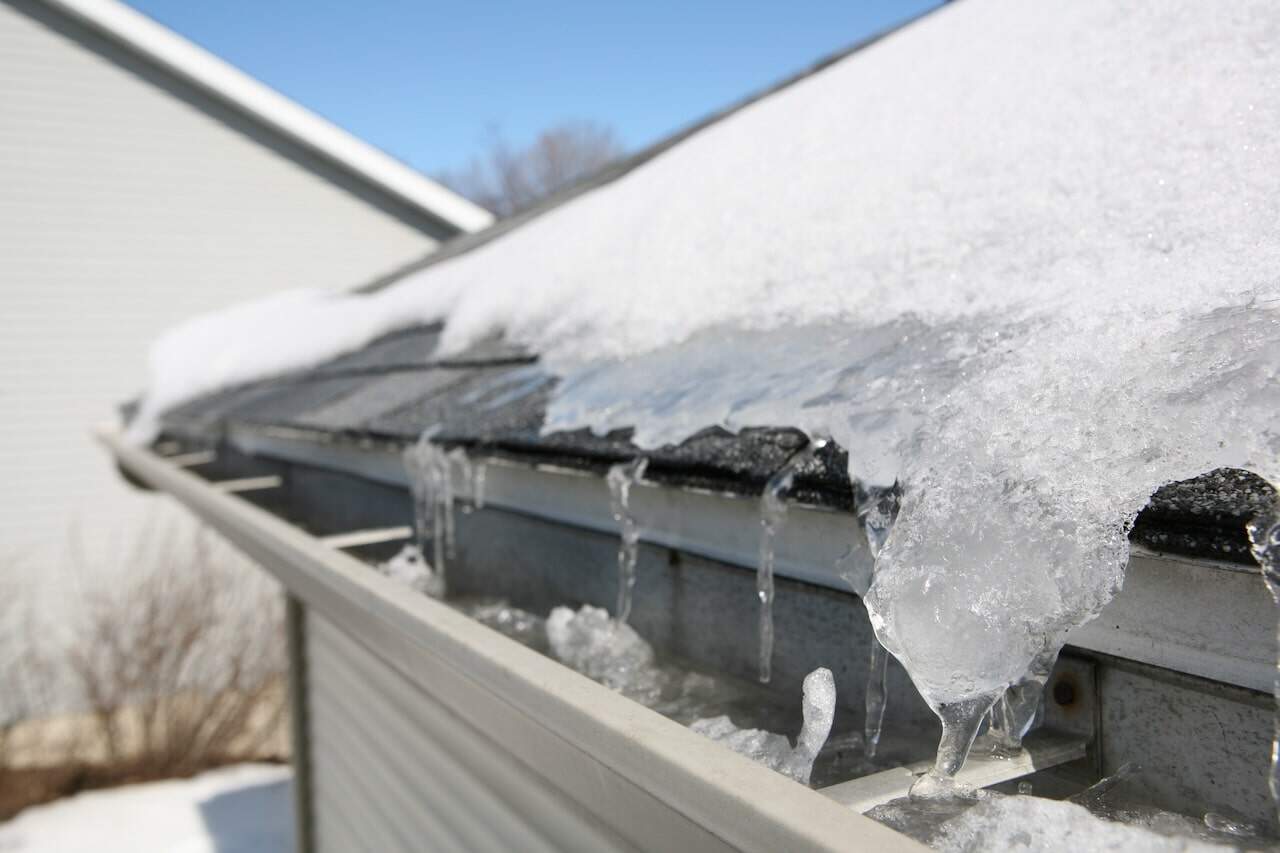
Water doesn’t need a lot of assistance. Left to its own devices, it will simply flow downward along gravity, wind pressure, and temperature differentials.
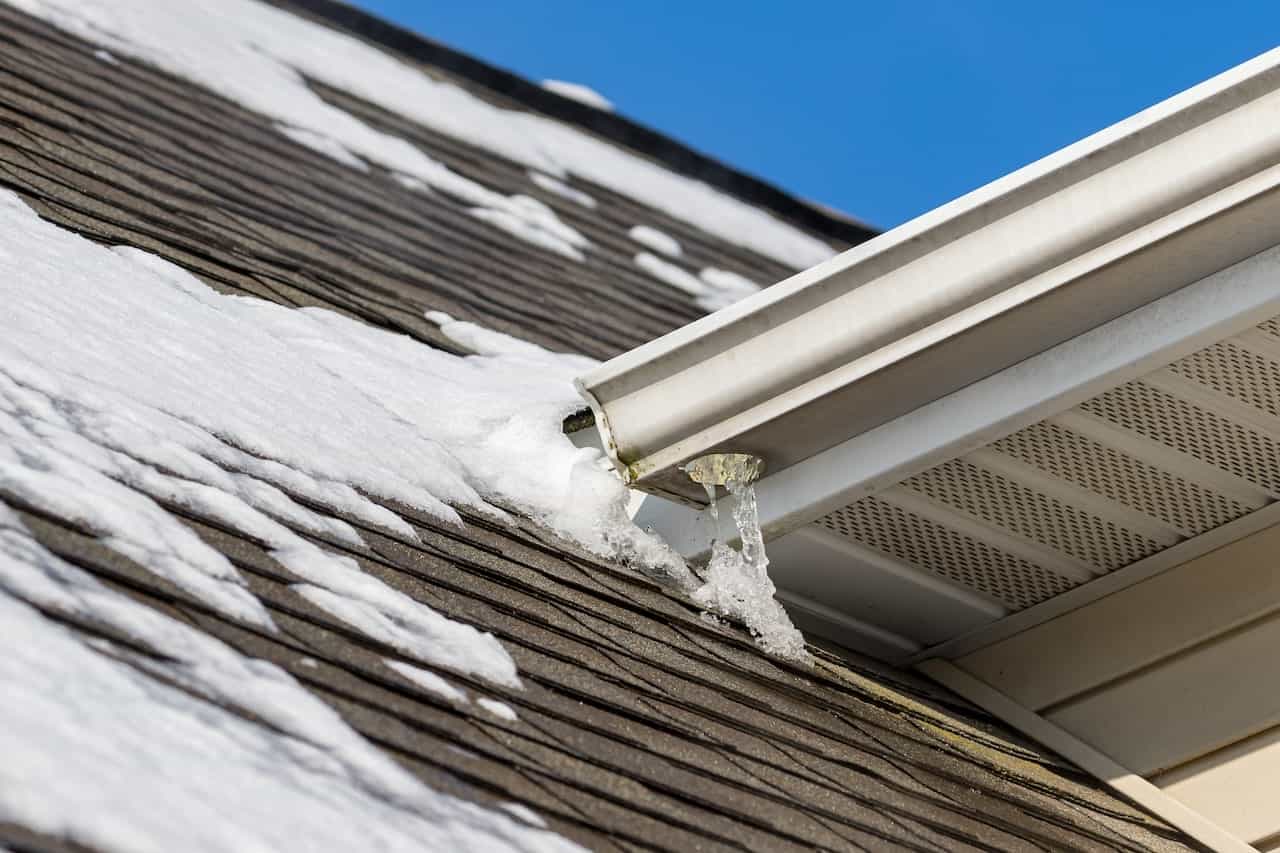
In Minnesota, rapid thaws push melting snow up under shingles, while refreezing events trap that water in place. Without the right detailing, that trapped moisture simply ends up in your attic, insulation, or walls, and even sometimes months before the telltale stain appears.
Climate Stresses Unique to Minnesota
The combination of roof stresses Minnesota roofs face is rare in most regions of the country:
- Freeze-thaw cycles that force water under roofing layers
- Wind-driven rain during severe storms
- Hail impacts that fracture shingles and underlying mats
- Heavy snow loads that impede drainage
- Rapid spring thaws that overwhelm weak roof edges and valleys
Designing for these threats requires both redundancy and precision at every layer of the roof.
Underlayment and Ice Barriers That Do the Heavy Lifting
Underlayment Types: Synthetic vs. Felt
The underlayment is the roof’s secondary water barrier, so when comparing underlayment types (synthetic vs felt), there are several things to consider.
Synthetic underlayment offers higher tear strength, better walkability during installation, and superior moisture resistance, all of which are important benefits for Minnesota winters.
On the other hand, felt underlayment is inexpensive and widely used, but tears easily, absorbs moisture, and becomes brittle in cold weather. In practice, many older roofs use two layers of felt underlayment for redundancy. The best modern synthetics have higher performance than that, often with a single layer if installed properly.
Ice and Water Shield Placement
Ice and water shield is a must for freeze-thaw cycles, but it rarely needs to go on the entire roof. For most jobs, strategic placement is much more important than full-roof coverage.
Focus on these key areas:
- Eaves (extended past the warm wall line)
- Valleys
- Roof-to-wall intersections
- Chimneys, skylights, and other penetrations
Always ensure there are proper overlaps, clean terminations, and fastener avoidance in valleys as these are just as important as the material selection itself.
Common Installation Mistakes to Avoid
Even the highest-performing materials in the world can still fail with poor installation. Look for:
- Fishmouths and wrinkles that trap water
- Reverse laps that channel water under the barrier
- Fasteners driven through valleys or other low-slope areas
These shortcuts are a leading cause of early roof leaks.
Read More: Winter Roof Maintenance: Tips to Protect Your Roof in Winter
Flashing Details That Actually Stop Leaks
Most roof leaks start at transitions, which means proper detailing around flashing and penetrations, including sidewalls, chimneys, plumbing vents, and skylights, is important to preventing water intrusion.
Step, Counter, and Apron Flashing
Flashing is where most roof leaks start. At sidewalls, step flashing should always be installed shingle by shingle, not as a single continuous piece.
Counterflashing should always integrate into mortar joints where possible, though surface-mounted products can work in certain retrofits if detailed correctly.
Kick-Out Flashing and Diverters
Kick-out flashing is another of the most overlooked yet most critical components of roof leak prevention. At roof-wall intersections, kick-outs divert water into the gutter instead of behind siding.
Without kick-outs, that water will saturate sheathing and framing lumber, which often remains hidden until major repairs are needed. Proper sizing and placement are also important when coordinating with different siding systems.
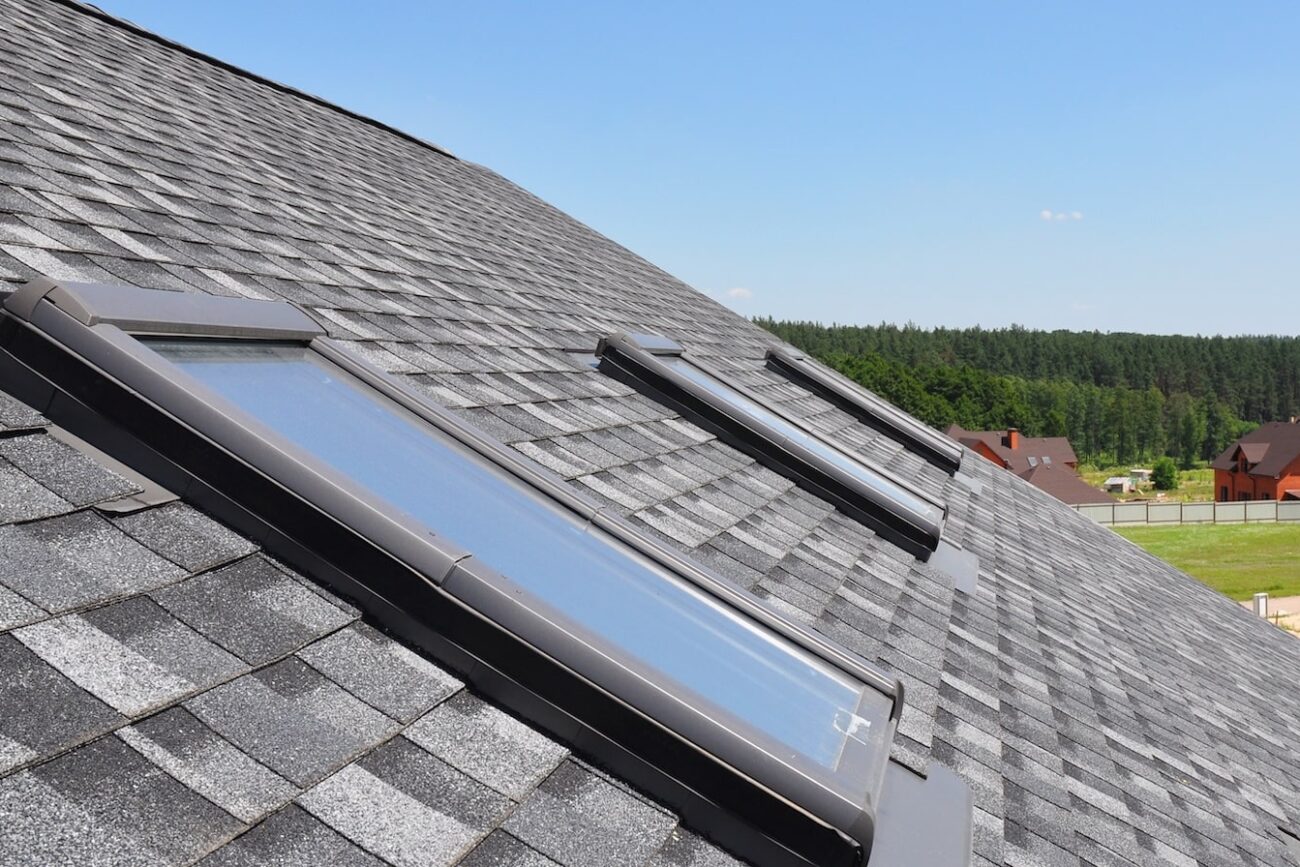
Penetrations and Skylights
Every penetration through the roof is a risk. Plumbing boots, vents, and skylights all need integrated flashing systems, not just sealant.
Skylights, in particular, need proper curb height, pan flashing, and ice barrier tie-ins to survive snow buildup and thaw cycles.
Ventilation and Attic Health
Balanced Intake and Exhaust
Attic ventilation is an essential part of the roofing system. A balanced system typically includes soffit intake and ridge vents.
Key things to consider include:
- Correct net free area (NFA) calculations
- Clear baffles to keep insulation from blocking airflow
- Alternatives for hip roofs or short ridges
Balanced attic ventilation and baffles work together to keep insulation from blocking airflow, allowing heat and moisture to escape, and reducing the risk of ice dams and condensation damage.
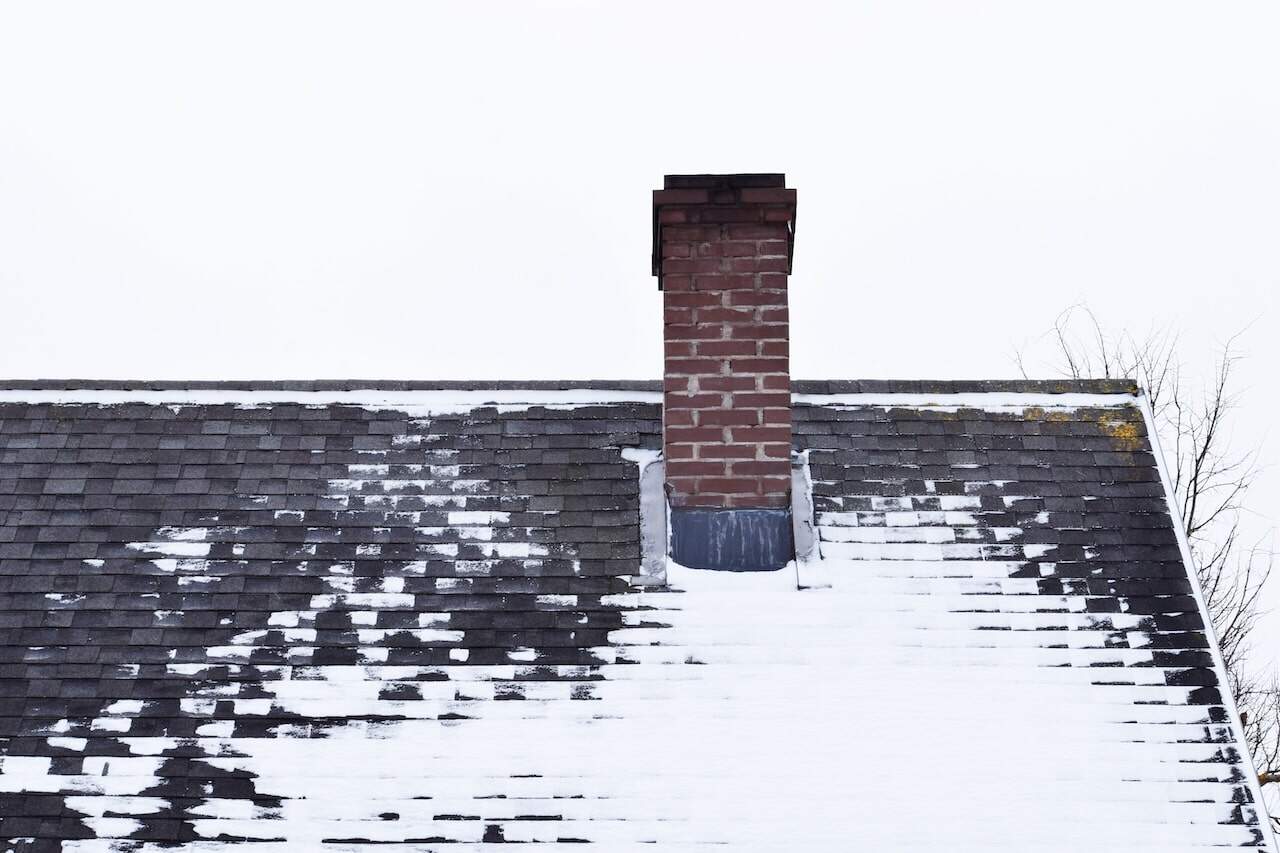
How Ventilation Prevents Leaks and Ice Dams
Proper ventilation in the attic exhausts heat and moisture. This prevents snow melt that can cause ice dams, as well as shingle and sheathing damage due to condensation, and satisfies roof warranty ventilation requirements. Satisfying roof warranty requirements is often based on proper installation of ventilation, underlayment, and accessories in addition to shingle quality.
Diagnosing Poor Airflow
A few warning signs of poor ventilation include:
- Frost on attic nails
- Musty insulation
- Recurring ice dams or uneven snow melt
These symptoms point to ventilation or air-sealing problems, not shingle failure.
Shingles and Accessories for Harsh Climates
Hail- and Wind-Rated Shingles
In storm-prone climates, shingles should always meet Class 4 impact ratings, along with strong wind warranties. Proper nailing patterns are just as important as the rating itself.
Accessories Matter
Starter strips, ridge caps, and ridge vents should all be factory-matched and installed as an integrated system. Factory-matched ridge caps and ridge vents complete the roofing system by protecting the roof peak while allowing warm, moist air to exhaust from the attic. Mixing components increases failure risk during high winds.
Edge and Water Management
Correct installation of drip edge and starter strips ensures water is directed into the gutter system while reinforcing shingle edges against wind uplift. A few things to consider:
- Drip edge sizing and sequencing must also work with the water-resistive barrier (WRB)
- Valleys can be open metal (better shedding, but visible) or closed-cut (cleaner look, more reliance on underlayment)
Each choice has pros and cons depending on roof pitch and exposure.
Air Sealing and Insulation at the Roofline
Stop Warm Air Bypasses First
Ice dams often start inside the house. Key fixes include:
- Vent bath fans to the exterior
- Seal can lights and attic hatches
- Close chimney chases and top-plate gaps
Pair with Insulation Upgrades
Once air leaks are addressed, insulation can do its job. Target R-values, proper depth, and baffles, and note that blown-in insulation often outperforms batts in irregular attic spaces.
Maintenance That Actually Matters
Winter Roof Maintenance Checklist
- Clear debris from roof and valleys
- Check for granule loss and exposed fasteners
- Inspect flashings and sealants after storms
- Ensure gutters and downspouts flow freely
- Watch for signs of ice load or uneven melt
When to Call a Pro
Soft decking, recurring leaks, hail splatter patterns, or lifted ridge caps signal deeper issues. Summit Construction Group also offers storm assessments – you can learn more on our Storm Damage page.
Read More: Winter Window Maintenance: Preparing Your Windows for Cold Weather
Project Planning, Costs, and Warranties
Scope items like tear-off vs. overlay, sheathing repairs, ventilation upgrades, and winter staging all impact cost and timelines. Proper documentation, including photos, product registration, and maintenance logs, help protect your roof warranty and support future claims.
How Summit Builds a Weatherproof Roofing System
Summit Construction Group begins every job with a full attic and exterior assessment, moisture readings, and ventilation calculations. We create a written scope for every project, including detailed drawings for valleys, walls, and penetrations. Our installation process follows strict sequencing, weather windows, and final quality checks, both inside and out.
Explore our completed work on our Projects page, or read more about our approach on our Roofing page.
FAQ: Weatherproof Roofing
What is the best underlayment for weatherproof roofing?
The best all-around balance of durability, moisture resistance, and cold-weather performance is offered by high-quality synthetic underlayment.
Do I need an ice and water shield on the whole roof?
Not usually. Strategic placement at eaves, valleys, and penetrations provides effective freeze-thaw protection without unnecessary added cost.
How does attic ventilation prevent ice dams and leaks?
Consistent roof temperatures reduce snow melt/refreezing while removing moisture that damages sheathing.
Which shingles hold up best to hail and high winds?
Class 4 impact-rated shingles with enhanced wind warranties perform best when installed with proper accessories.
What winter maintenance should I do every year?
A simple inspection and debris clearing routine, done annually and after major storms, can go a long way. Address issues early to avoid more costly repairs down the road.
Read More: How Long Does A Roof Last in Minnesota?
Building a Roof That Lasts
In Minnesota, weatherproof roofing is never about a single product or decision. It’s a carefully layered system involving underlayment, ice barriers, flashing, ventilation, shingles, and maintenance that all work together to handle extreme weather from every angle.When every detail is in sync, your roof does more than just survive Minnesota’s harsh climate, it protects your home for decades to come.
If you’re planning a roof replacement or want an expert roof assessment, contact Summit Construction Group through our Contact page or explore more roofing resources in our Blog Hub.